
Bread Making
It came about out of necessity—my latest hobby: bread making. For anyone with a sesame allergy, finding bread in the supermarket can prove challenging.
When you see sesame seeds on a loaf of bread, it's easy to tell that people with sesame allergies should avoid it. But did you know that many other breads now carry sesame allergy warnings—even if they don’t have visible seeds?
In Allergic Living, it is stated that some commercial bakeries and restaurants in the U.S. began intentionally adding sesame to their products in response to the FASTER Act, which requires clear labeling of sesame as a top allergen starting in 2023. Rather than investing in allergen-free production lines to avoid cross-contact, companies chose to add small amounts of sesame and label the allergy.
As a result, my bread options at the supermarket became limited. So, what was I to do? Why, start making my own, of course. I’ve always thought it was intimidating. The water has to be just the right temperature to bloom the yeast. Then, there’s the kneading. And the whole process takes so much time!
For a bread lover with limited options, I decided to overcome my apprehension.
My first stop - Watching a few YouTube videos and reading recipes from Paul Hollywood of the Great British Baking Show who is somewhat of an authority on bread making. Here are his tips and techniques. Baker Bettie has the most comprehensive video to understand the process step by step. She even explains what yeast is.
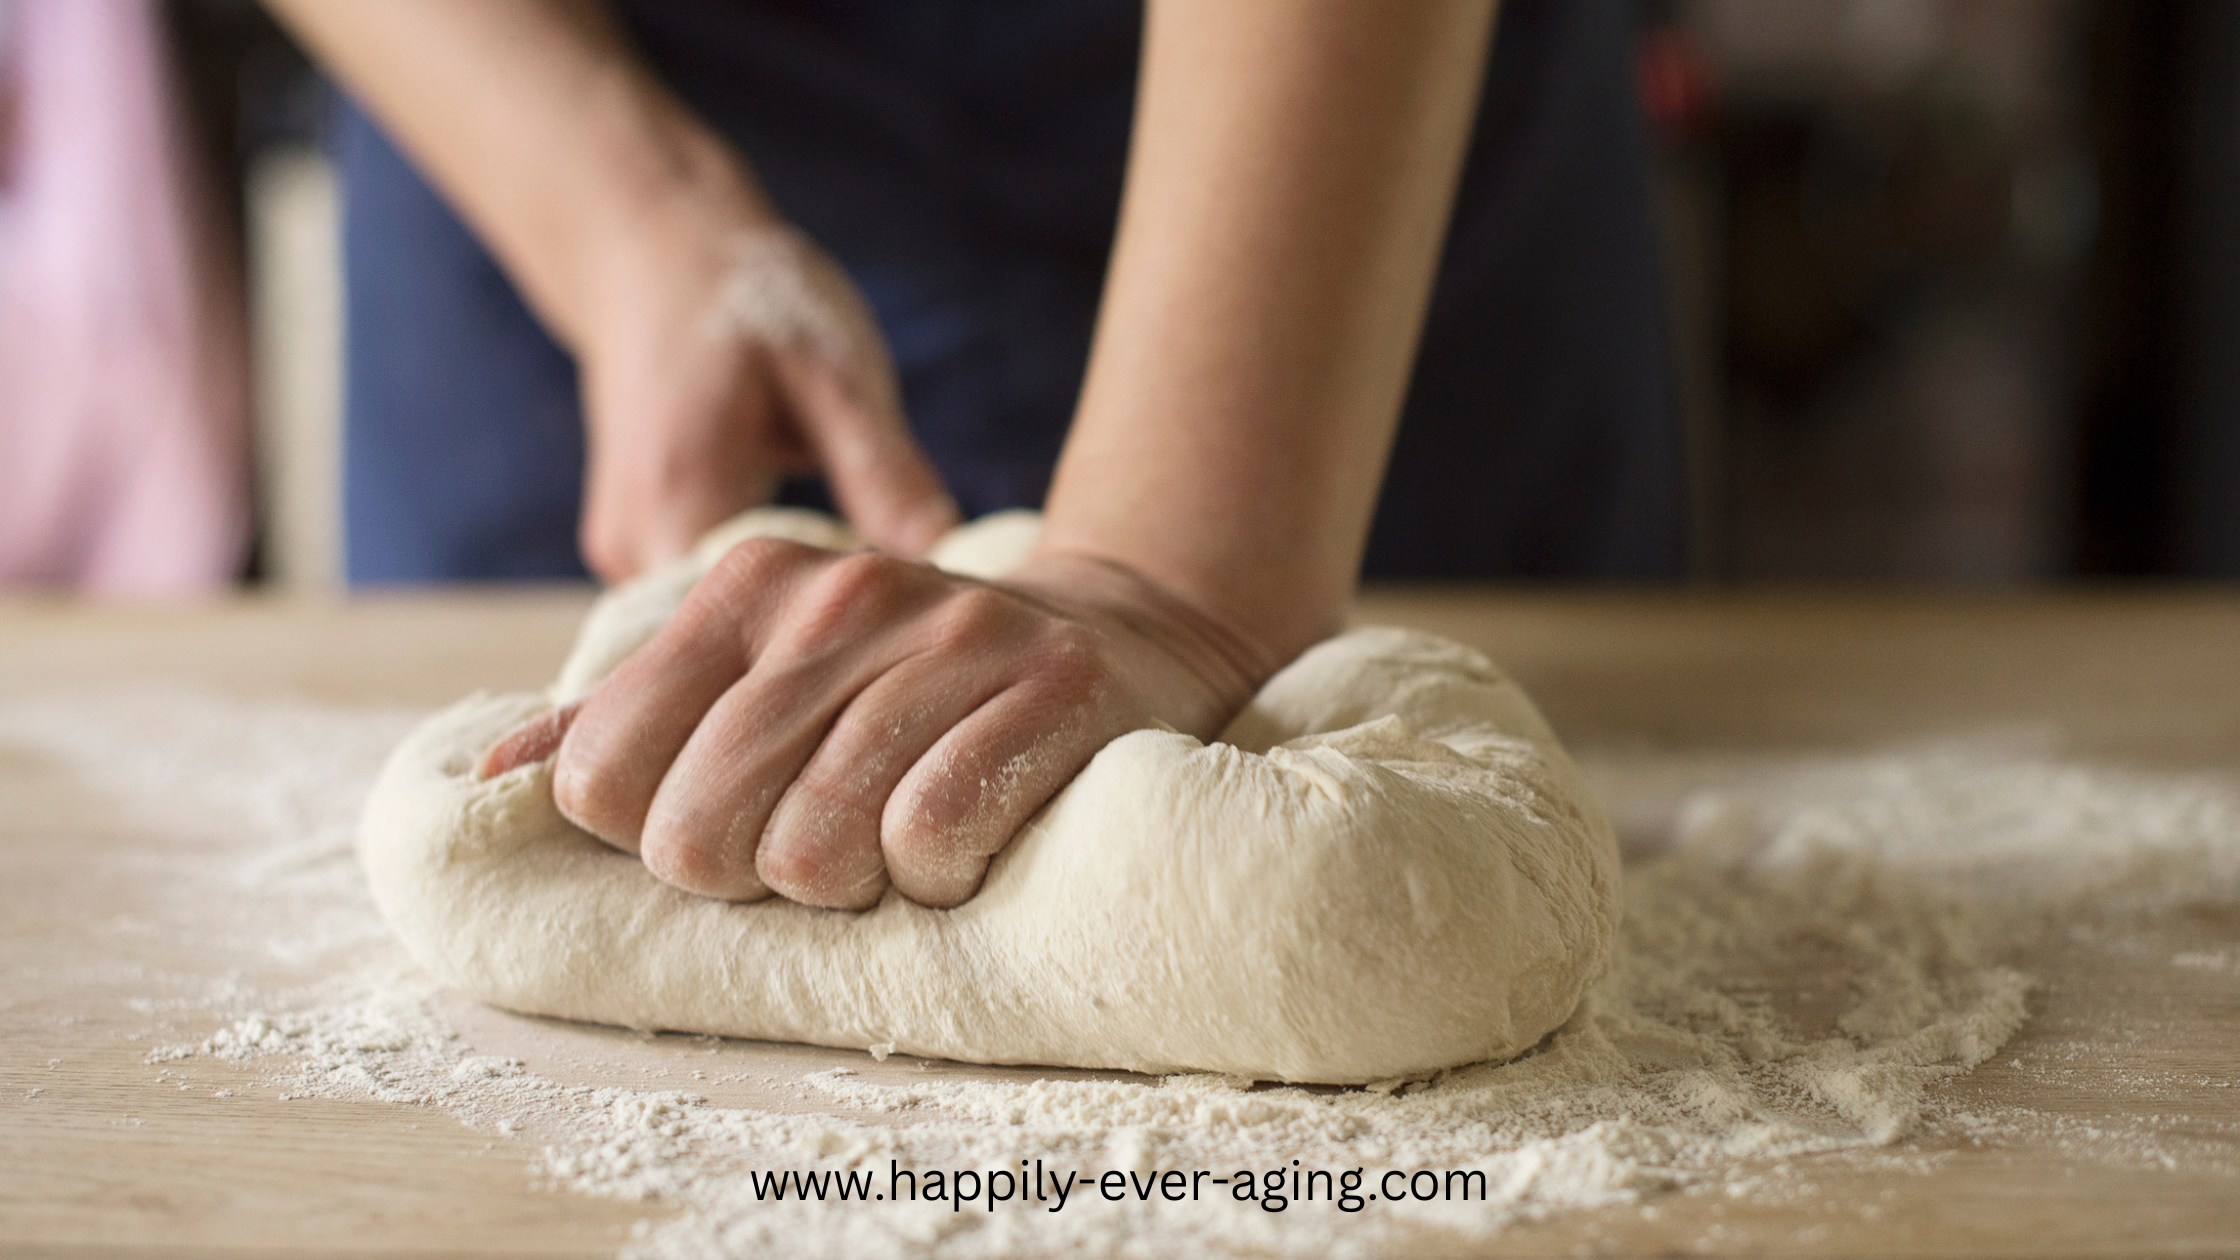
There is plenty of information and many videos that demonstrate kneading by hand. Doing so offers a number of benefits.
It can be a calming, almost meditative activity that’s great for relieving stress and supporting your overall well-being.
As you work the dough, you’ll start to notice the transformation—watching the sticky mixture gradually become smooth and elastic helps you truly understand how gluten develops.
This hands-on process also makes it unlikely that you'll over-knead, since you can see, feel, and sense when the dough reaches the perfect texture.
If the hands-on approach is not your thing, bread machines can be used with great success. They make the process easier and offer convenience. They will mix the ingredients, knead the dough, allow for resting and rising and then bake the bread.
I don’t have a bread making machine, but I do have a KitchenAid mixer. As luck would have it, I saved the KitchenAid spiral bound book that came with the mixer over 30 years ago: Mixers and Attachments | Recipes and Instructions. The table of contents includes warranty information, care and cleaning, mixer use, and speed control guides. And as a jackpot, it also has recipes for appetizers, cake, frosting, cookies, pies - and yeast breads.
I began my baking journey with English muffin loaf bread, then tried sweet dough, followed by cinnamon bread. It was almost magical to watch such simple ingredients being transformed into something so delicious. The house was filled with a great aroma while it was baking, and eating a piece still warm from the oven was deeply satisfying in a way store-bought bread never quite manages.
At last, I had bread I could enjoy without worrying about allergies—and just like that, a new hobby was born. If you're thinking about bread making as a hobby too, here's the English muffin loaf recipe. It looks like a loaf of bread, but tastes just like an English muffin. Absolutely delicious.
English Muffin Loaves*
Makes 2. *Recipe from KitchenAid
Ingredients
2 cups milk
½ cup water
5-6 cups all purpose flour
2 packages active dry yeast
1 Tablespoon sugar
2 teaspoons salt
¼ teaspoon baking soda
cornmeal
Directions
Combine milk and water in a small saucepan. Heat over low heat until liquids are very warm (120℉ to 130℉).
Place 4 cups of flour, yeast, sugar, salt, and baking soda in a bowl. Attach bowl and dough hook. Turn to Speed 2 and mix for 1 minute. Gradually add the warm liquids to the flour mixture, about 30 seconds. Mix 1 minute longer.
Continuing on Speed 2, add remaining flour, ½ cup at a time. Knead on Speed 2 for 3 to 5 minutes longer. Dough hook will be very sticky.
Spread dough into two 8 ½ x 4 ½ x 2 ½ inch loaf pans that have been greased and sprinkled with cornmeal. Cover; let rise in a warm place, free from draft, for 45 minutes.
Bake at 400℉ for 25 minutes. Remove from pans immediately and cook on wire racks.